Before getting straight to the heart of the matter, we still need a little material.
Rest assured, nothing very important and rather even common equipment. It is not about making a work of art, but simply a christmas treel which will cover the whole of an A4 sheet for the great pleasure of your children.
The equipment required can be summarized as:
- A white sheet of common size (like the one you put in a printer)
- A gray pencil
- Eraser
- A green pencil or green pen
Once you have gathered this material, we will start drawing our Christmas tree to color. Don’t panic, we’ll keep it simple, so that everyone can get there and offer his tree to color.
To begin, we will immediately see what we want to obtain. That way no surprises, we know where we are going.

Whoa, I already see some who want to leave the site. It looks difficult like that at first glance, but we are going to break down this pretty tree into several steps.
Step 1 :
Start by dividing your sheet of paper in two by tracing the axis of symmetry in the vertical direction with a light pencil stroke.
I didn’t do it on purpose, I didn’t want to immerse you in college math lessons. You’ve probably seen enough.
Clearly and more simply, divide your sheet of paper lengthwise by tracing guesswork a light pencil line from top to bottom.
This vertical line will serve as our guide for step two. It must then be deleted.

2nd step :
We go start drawing our tree. Finally, it’s not too early. We discuss, we discuss and for the moment all we have managed to do is a simple line in the middle of a sheet. Great !!
To draw our tree, we must draw a line as if we wanted to make an incomplete triangle.
Place your pencil at the top of the sheet on the vertical line and start the triangle like this without finishing it and without touching the horizontal line to the vertical line as below.

As you can see, the tree line starts on the vertical line, but does not end on this same vertical line.
I started directly with a green marker, but you can start first with a gray pencil.
We continue. We replace the pencil at the end of our first line and we make another larger triangle that will still not stick to our vertical line.
We obtain this:

Step 3:
Now we need to do exactly the same thing. symmetrically on the other side of our vertical line.
Like this :

Step 4:
All we have to do is draw a nice pot for our tree. A simple trapeze will do. Definitely, I insist heavily on middle school geometry. But you will see it is easy to do.
Draw a horizontal line under the end of the trunk like this:

Draw another horizontal line lower down so that it is roughly centered with the first and join the edges.

Step 5:
This is the easiest and we have finished our coloring Christmas tree.
Simply go over the lines made with a pen or felt-tip pen and erase the vertical line that you drew at the beginning.
Here is the result.
If, despite all my explanations, you have not been able to carry out this “ Magnificent » Christmas tree to color. I give you the opportunity to download it in PDF format and deliver it to your toddlers for hours of coloring with piles of pencils of all colors.
Download the Christmas Tree PDF
They will be able to decorate it with Christmas’ balls, garlands, of Christmas characters, ofstars, etc.
Let your children’s imagination work, they have plenty of it.

 Barbecue invitation card for summer to print
 Timetable to print and complete
 free printable best sister certificate
 2016 calendar to print
 Best brother diploma free to print
 A beautiful Christmas menu with a word processor
 Menu of the week to print and complete
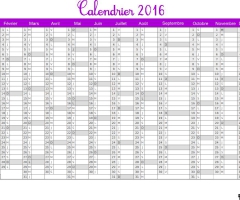 2016 calendar to print
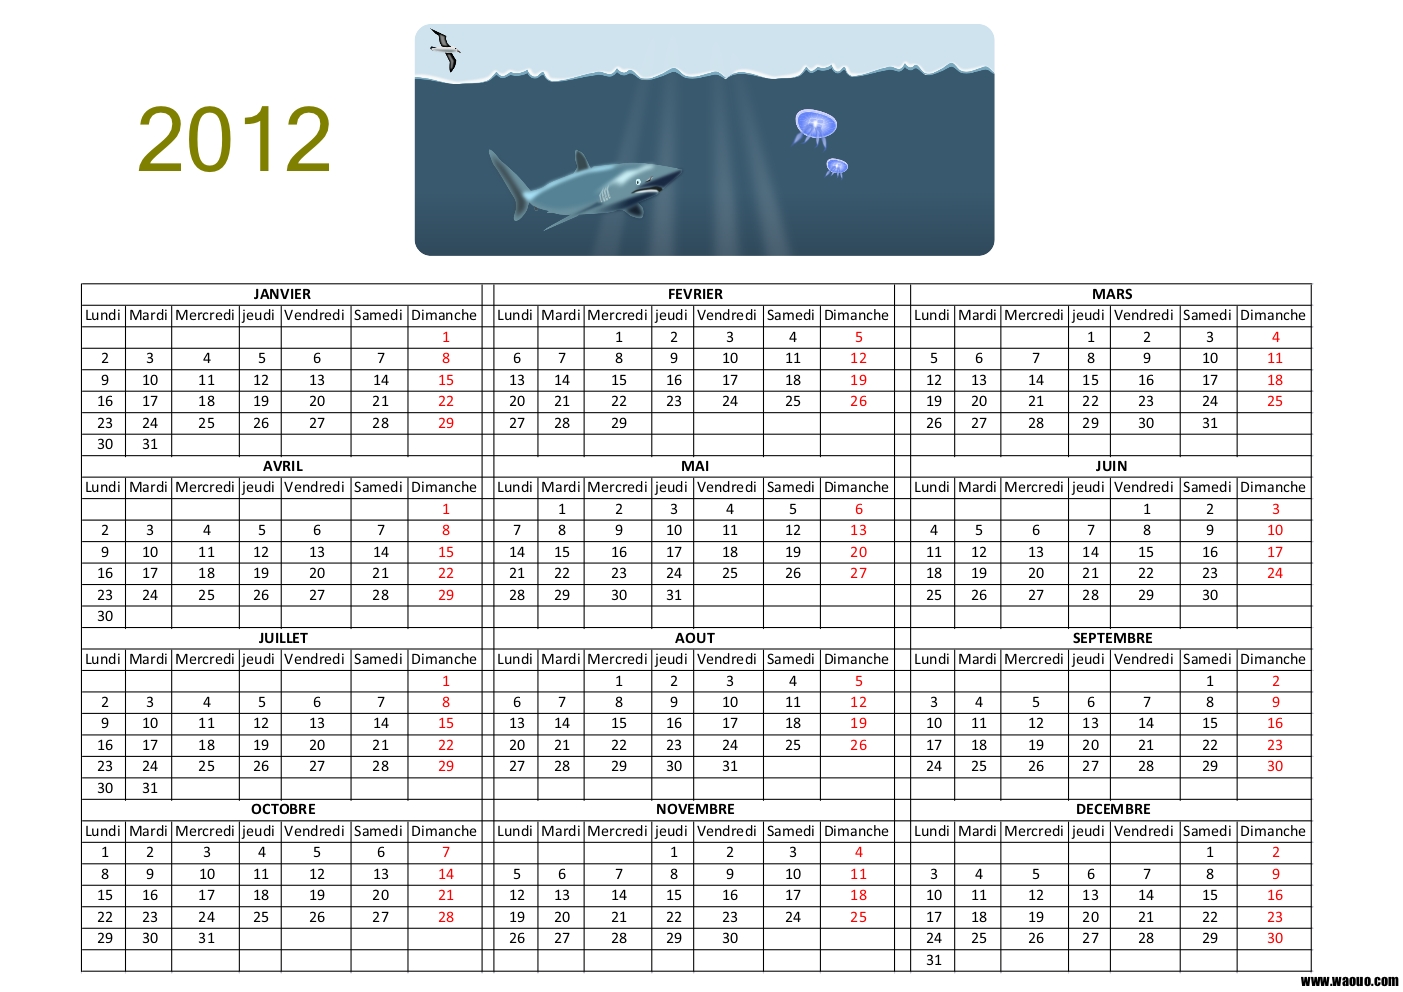 Free 2012 calendar to print